Our DIY Wrapped Exhaust Hood
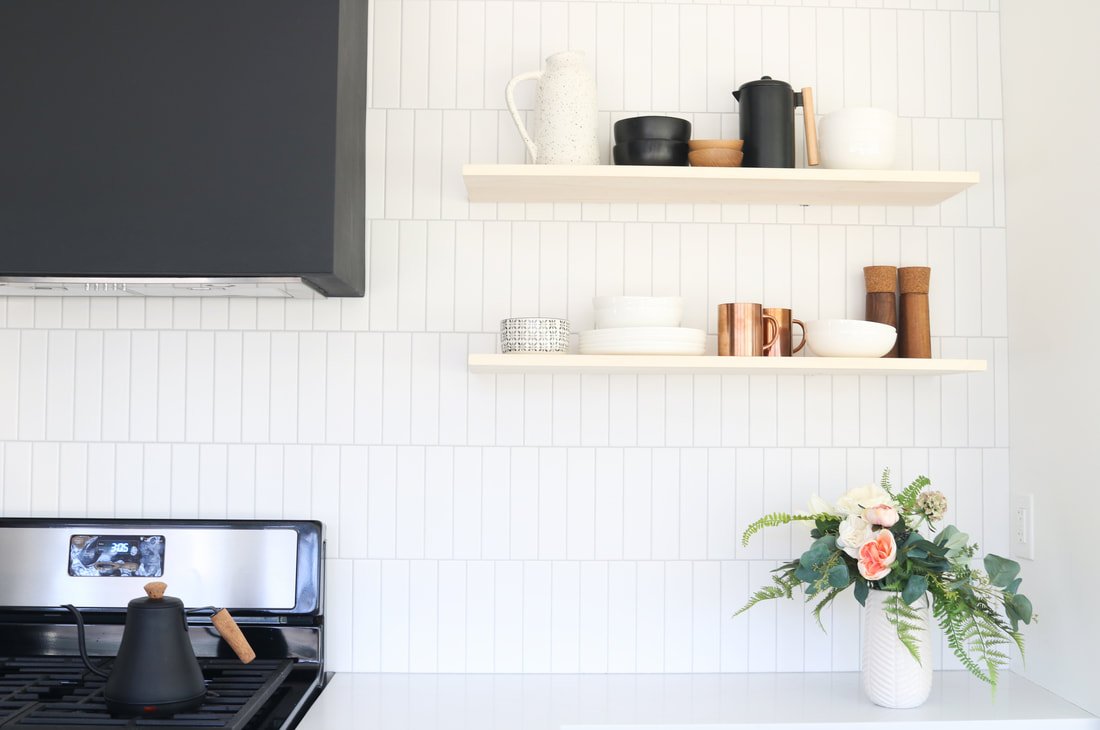
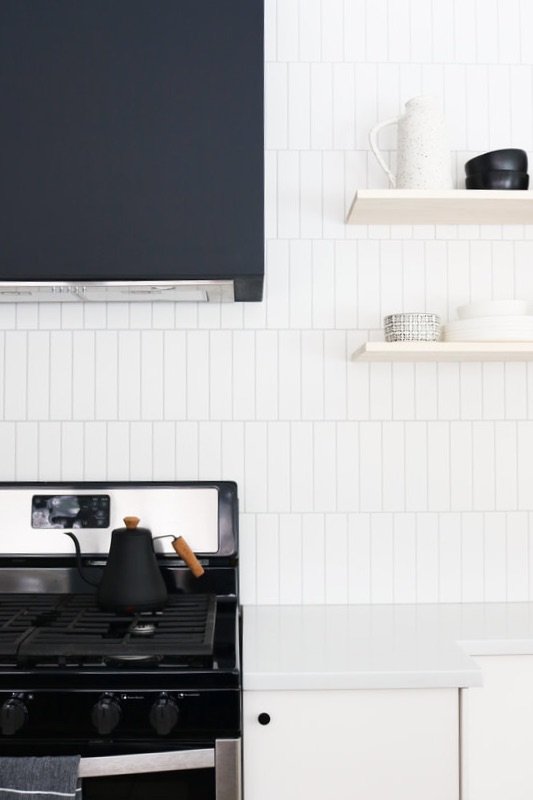
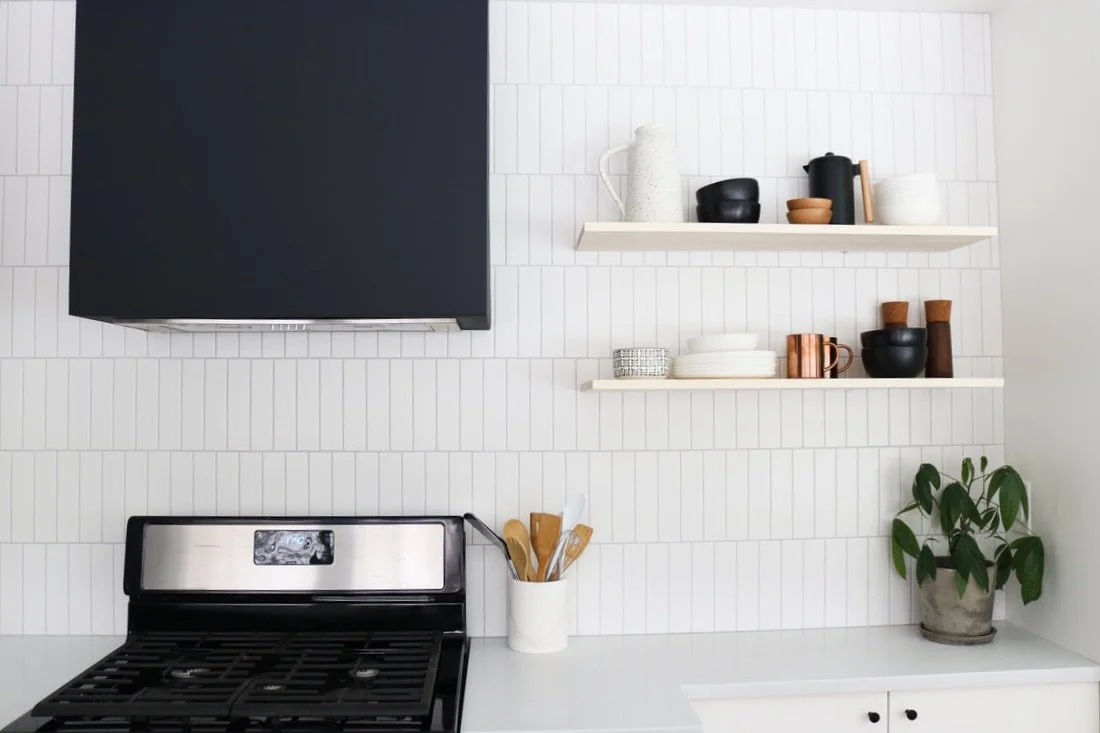
We are so happy with our wrapped exhaust hood! It is minimal, yet dramatic. We love that it is versatile - we could paint it any color, tile it, or wrap it in wood! We are enjoyed the matte black for now, but may install a tile like this when we are ready for a change! Our followers are often asking what material we used for our hood. It's just drywall! Today, we are sharing how we designed and created this piece.
After extensive research, I found this tutorial by Grit and Polish to be the best resource. If you are going to tackle a project like this, I certainly suggest you watch their tutorial. We used it as a general guide for our hood.
Here is the simple step by step guide. See photos below for further explanation.
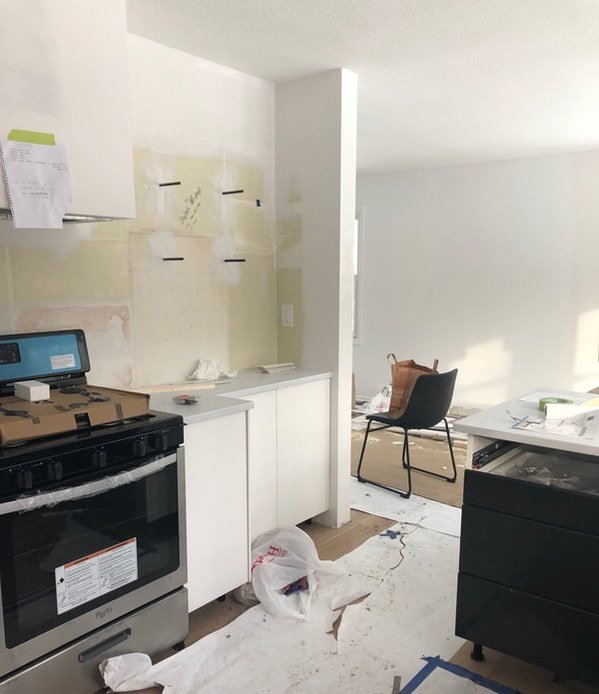
First, we demoed the space
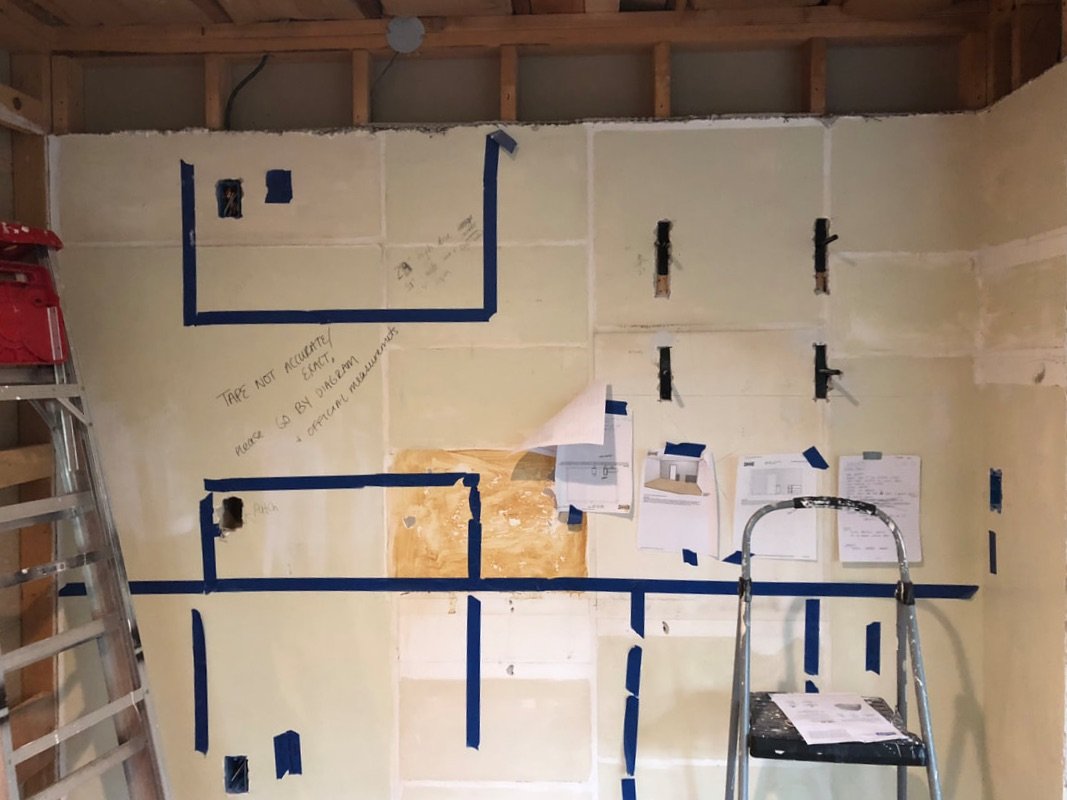
Next, we taped out our kitchen layout and began designing the hood. You can control the height, width, and depth of the hood (opposed to going with a pre-fab piece; we loved being able to customize the size). Our hood is is 32" wide (you will want to be at least the same width of your range, if not an inch or two larger). We went with 15" deep (shallower than most hoods. We like that this depth is less "bulky"), We installed our hood 28.5" above the range (Ty is 6'2" tall, so we went high to make the space feel comfortable for him).
Our electrician added electricity behind where the future hood would be installed (you can see in photos below)
We built the hood "frame" using wood 2x4s
We covered the frame with sheet rock
Next, our drywaller prepped the sheet rock for paint
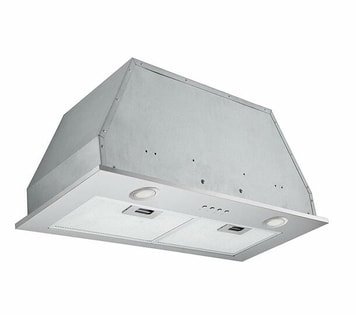
Next, we installed this insert (We love it! It comes with integrated lighting, which we use all the time!)
Lastly, we painted this hood with a flat black interior paint (Benjamin Moore Black).
We would love to see your DIY wrapped hoods! Be sure to tag us on instagram!
HJJ


