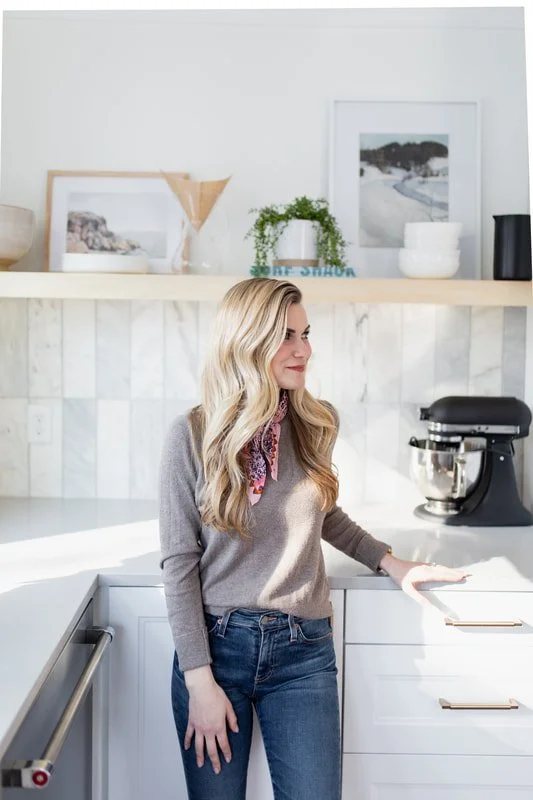
DIY Floating Kitchen Shelf
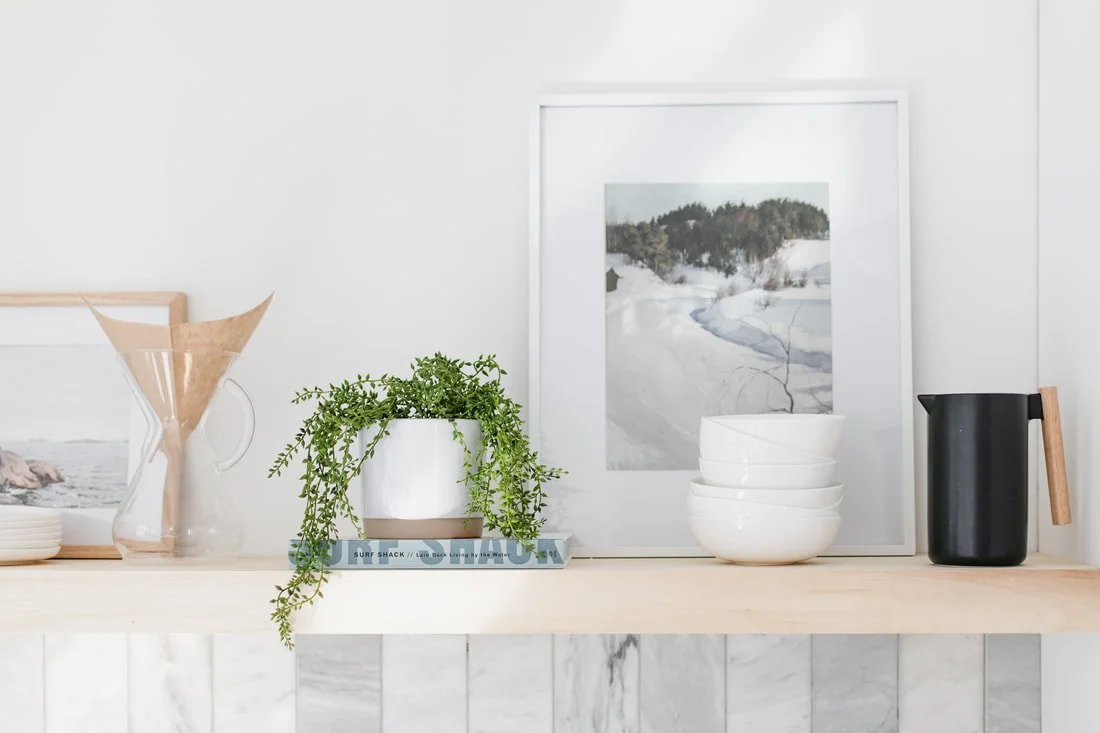
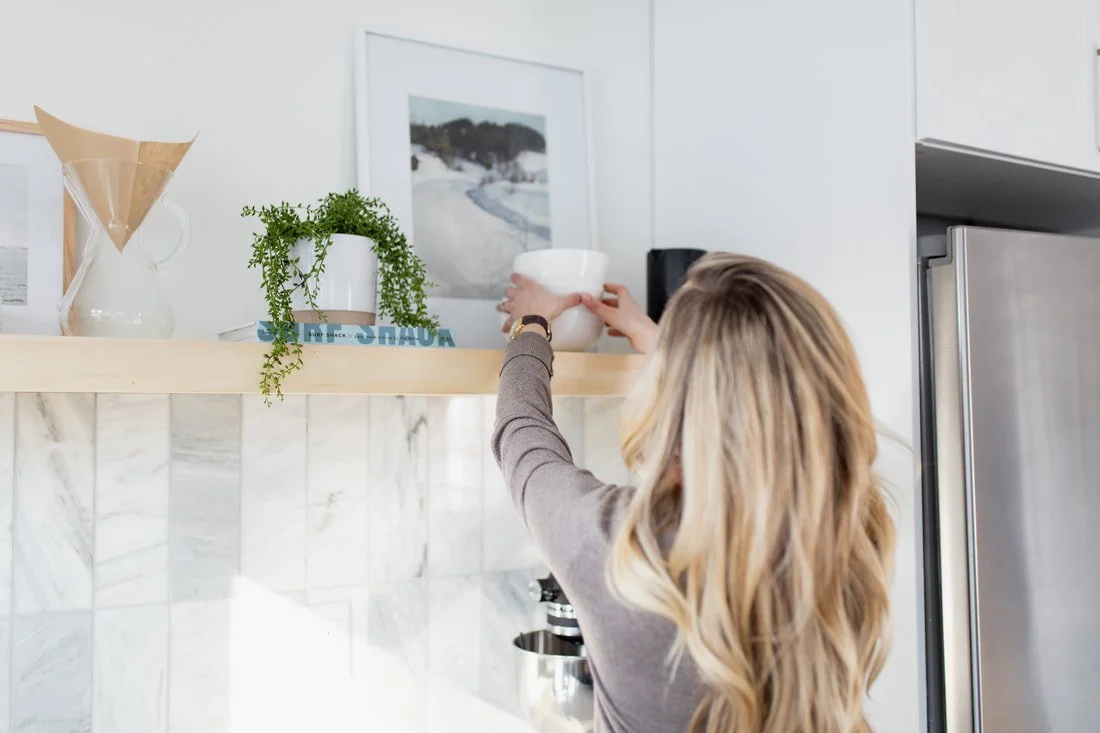
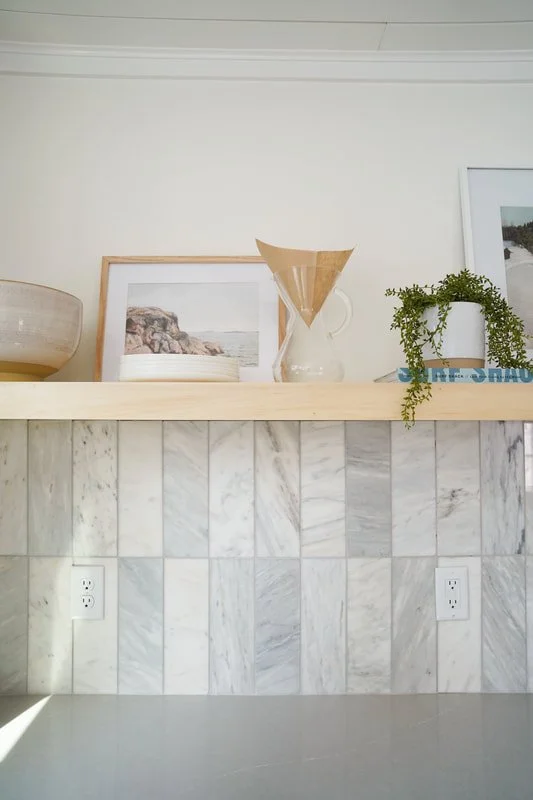
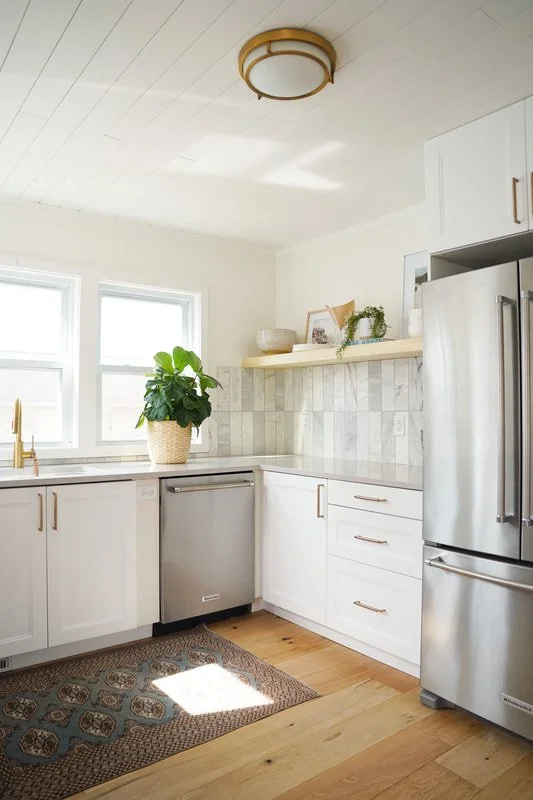
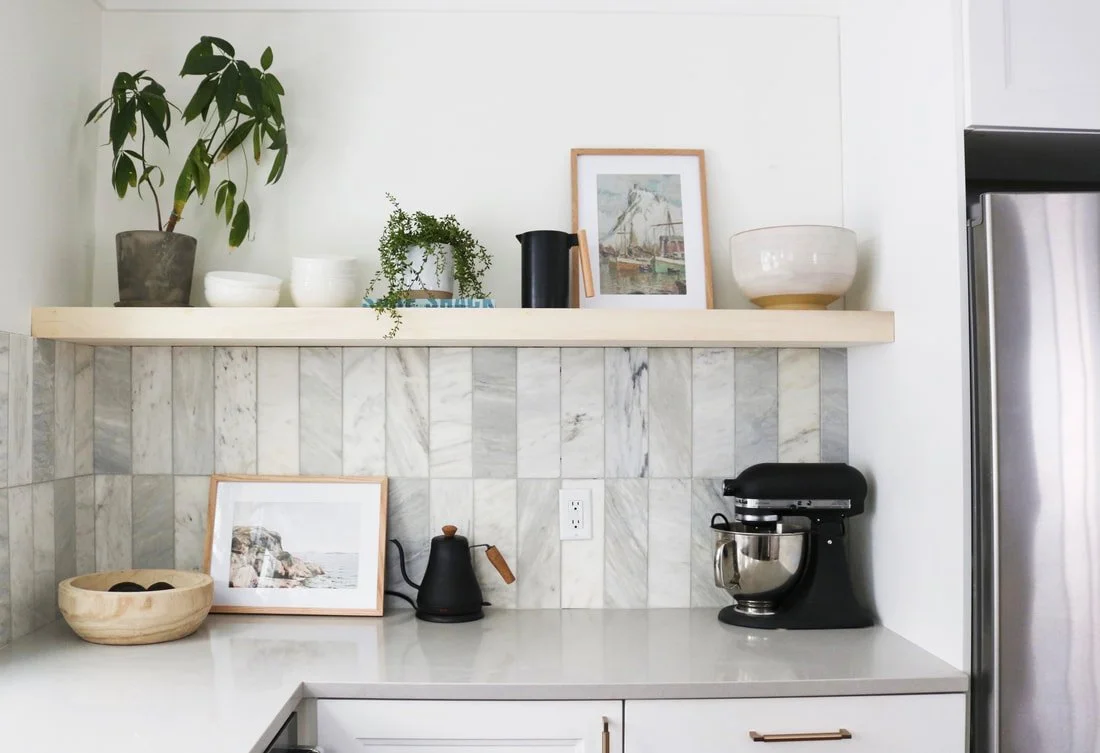
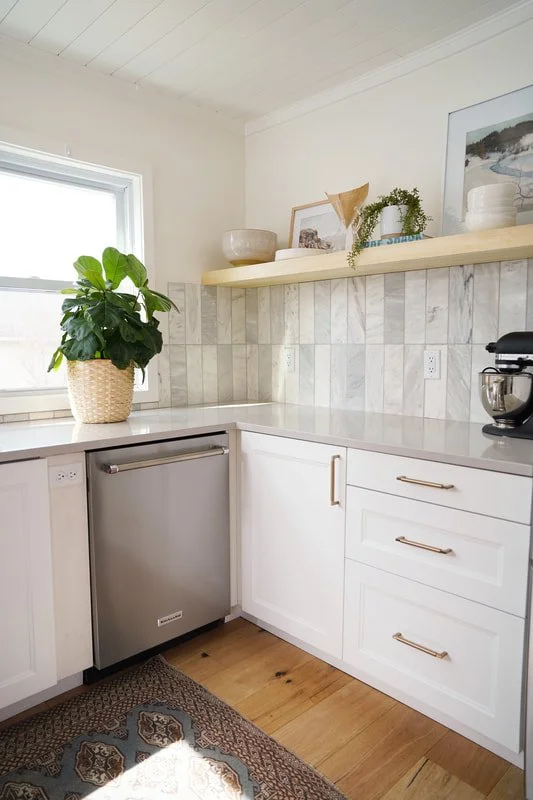
This post is long overdue! We have an affinity for shelving, and have incorporated shelving in each of our 5 kitchens. Shelving adds character to a kitchen and offers a space to display pretty dishes, plants, and even artwork! It's one way to make a kitchen feel personal. We're excited to finally share all about our kitchen floating shelf DIY...including our first ever tutorial video! We built this shelf for $77 and could not be happier with it.
Supplies:
2 boards 1" x 12" x 72" wood (or whatever size is right for your space...we used Aspen)
2.5" x 1" x 72" wood (for the front of the shelf)
Table Saw
Studfinder
3" Wood Screws (you may need anchors if you do not have enough available studs)
Jab saw or drywall utility knife
Notes: We opted to go with 12" boards. The front piece adds 1/2", so our shelves are 12.5" inches deep which fits our dinner plates perfectly. In the Ada flip, we went with 10" shelves (see that kitchen here). The thickness of our shelves is 2.5" inches (1" aspen + 1" aspen + 1/2" rod).
We opted for 1" Aspen from Menards, which has a pretty clean hue. We were not able to find white oak, and red oak would have been too orange compared to our floors. Poplar is inexpensive but does not take stain well. If you can't find white oak, we recommend aspen or ash!
First, we used a stud finder to locate the studs and marked them with a pencil.
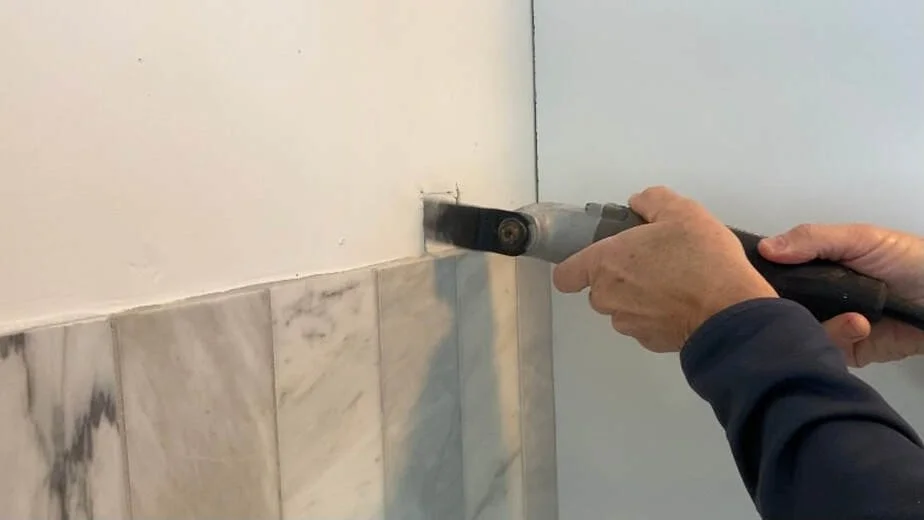
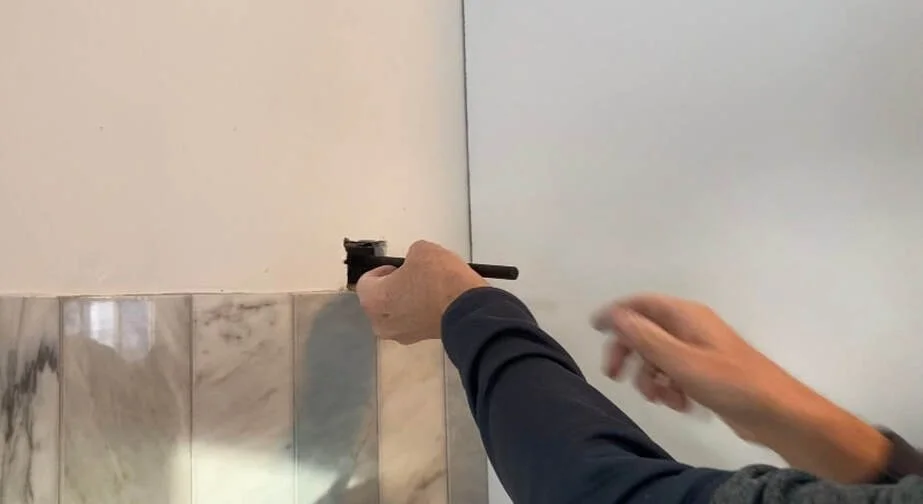
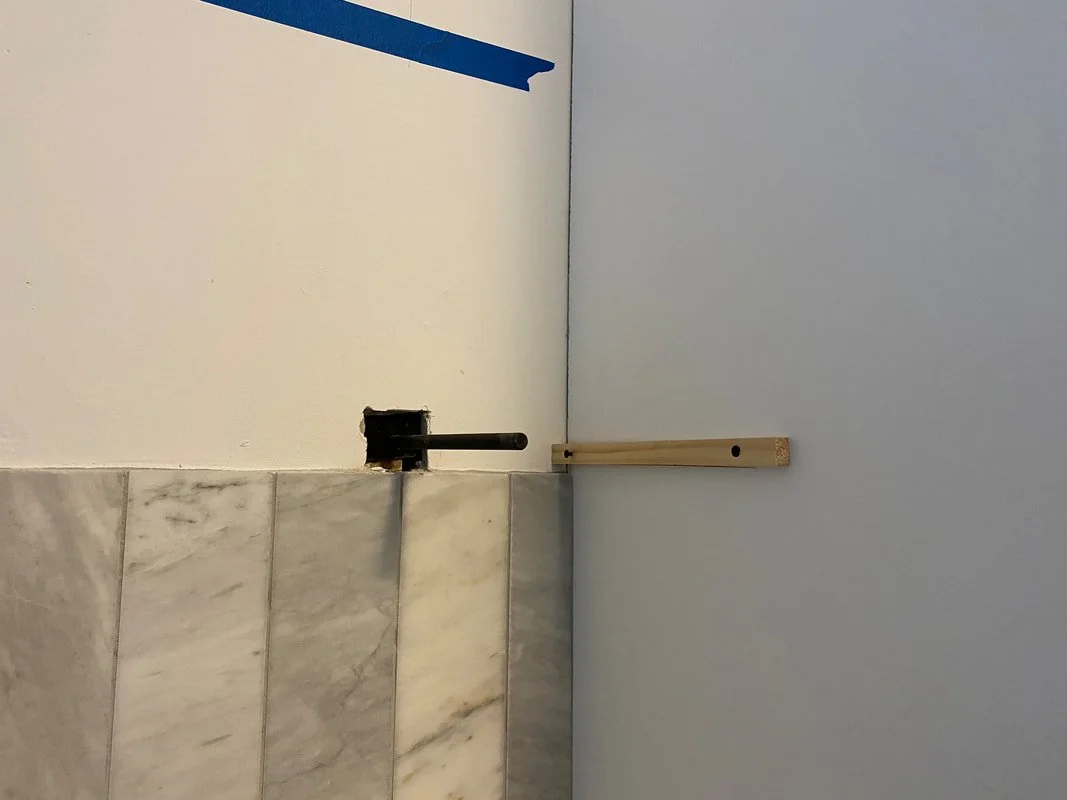
Next, we cut a 1.5" x 2" hole (the size of the back plate of the iron rod) in the sheetrock to expose the stud. This is necessary as you need the back plates of the rods to be flush with the drywall, otherwise you would have a gap behind the shelves.
We used 3" wood screws to attach the rods to the studs. Anchors could work if you don't have accessible studs, but studs are best.
For added stability, we cut a small piece of 1/2" wood and secured it to the walls on both sides (see 3 photos down). This is the same width as the rods and will fit snugly between the top and the bottom of the shelf. We used leftover wood from the Aspen boards.
We measured the length of the wall and cut both the 12" boards and 2.5" board to that length.
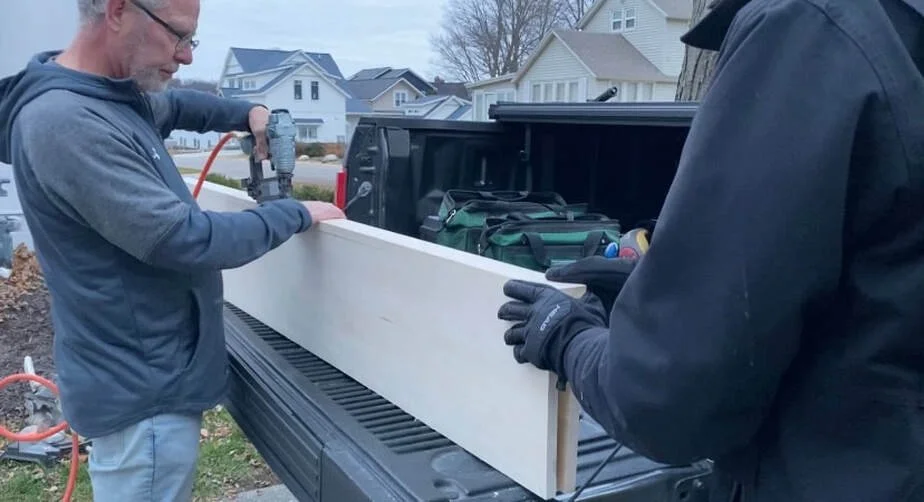
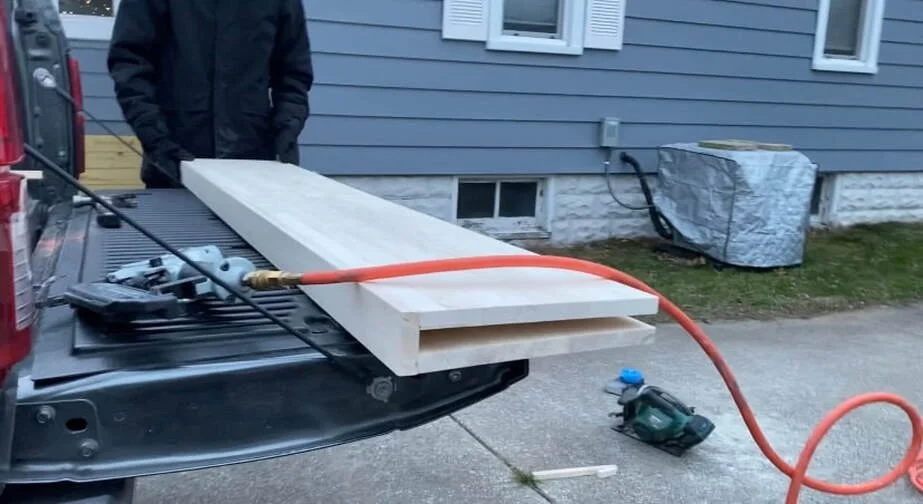
We used a nail gun to nail the 2.5" piece on front of the two 12" boards to create a "box" (with one open side) that will slide onto the iron rods.
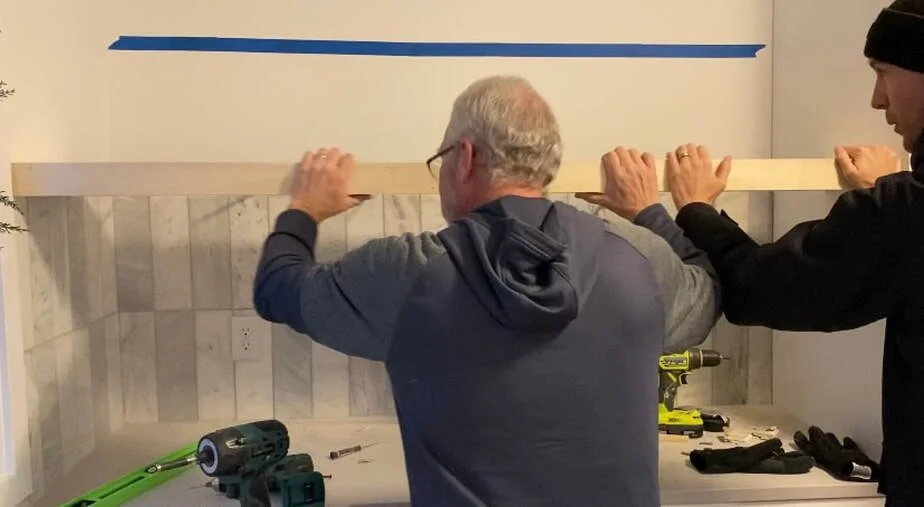
We simply slid the shelf onto the rods. This took some strength as it was tight!
We nailed the top of the shelf to the small pieces of wood that we attached to both walls in Step 4.
Nail hole filler was used to fill the nail holes.
After the filler dried, we used a sanding block to sand down the wood.
Lastly, we applied two coats of polyurethane.
The lumber and materials for this project cost $77, which was a fraction of the price it would have costs to hire this done or purchase these custom made. The entire project took about 3 hours. My Dad was a huge help. Had it been just Ty and I, it would have taken twice as long!
We are very happy with the finished product. There is something fulfilling about learning how to complete new projects that you can take with you and apply to future properties. Something tells me will we be repeating this DIY in homes to come!
Stay tuned for more DIY content and videos! Next up....we are shiplapping the dining room and taking y'all along!
HJJ


