Tips for Ordering and Installing an IKEA Kitchen
We love our IKEA KUNSBACKA cabinets. Read all about our full review of IKEA cabinets in this post, where I detail all of the pros and cons of going with IKEA for your next kitchen. We were entirely skeptical, but I couldn't find the right matte black cabinet front elsewhere (at the right price), so we decided to give IKEA a try. We learned a lot doing our first kitchen with IKEA. Next time, we will be more efficient since we have done it once before. Today, I'm sharing our experience, along with some tips for ordering IKEA cabinets!
1. Use IKEA's Online Planning Tool
Do NOT go to IKEA thinking you can design and order your kitchen in one sitting. Ideally, your kitchen design should be nearly completed before you go to IKEA. You'll want to look it over with an IKEA kitchen associate to make sure you have all of the details, but you don't want to be making design decisions while in the chaos of an IKEA. You will get very stressed, feel rushed, and likely miss a thing or two.
Note : Make sure you are using the tool with Chrome, not Safari, for best results.
2. Measure, Measure, Measure
Measure again and again. It is imperative that you measure everything correctly. I accidentally mismeasured the location of our plumbing, and had to run to IKEA (2 hours away) on a Saturday before Monday's install to grab a 21" cabinet instead of the 18" cabinet had ordered.
3. Don't forget toe kick
When you enter your kitchen layout in the planning tool, it will populate just about everything you need for the space - hinges, doors, etc. However, there are a few things that it may not automatically add, like toe kick. Luckily, our IKEA associate caught the mistake and added it to our order.
4. Ask your IKEA associate for the soft close dampers
The soft close dampers are suppose to be added automatically, but ours were not. We actually did not know they existed until we went back to order something for our laundry, and someone at IKEA told us about them. At $8 per set, they are ABSOLUTELY worth it. We purchased them after moving in and added them after the kitchen was finished (they take about 30 seconds to install!).
5. Go with the 153 degree hinges
The 153 degree hinge will allow you to open your doors wider, compared to the default hinge. It's not a huge deal, but they are only about a dollar more; and they'll make your cabinets more accessible.
6. Know when to take off protective film
This is a minor detail, but worth noting. The cabinet front will come with a film to protect the door from scratches and dings during install. Of course, we kept ours on during the entire renovation (as should you!), however; we left them on a day too long. Our carpenter installed our cabinet pulls on top of the film, which made the film very difficult to remove. We have since gotten it all off, but it would have been much simpler to remove the film prior to installation of cabinet pulls!
7. Don't forget panels and filler
Make sure that you are ordering enough panels to cover unfinished edges and areas that need filler (like the side of a fridge or back of an island).
8. Get the integrated dishwasher
I had forgotten about this feature when I ordered the kitchen, so I actually went back to IKEA a second time to pick up this dishwasher. This will make your kitchen feel more high end. Our dishwasher is in the cabinet to the right of the sink.
9. Organize the materials when they arrive
Each cabinet will have a SEKTION base, a door (or drawer) front, the interior pieces (shelves or drawer) and the appropriate hinges. Make small piles for each cabinet, so that all the pieces for each unit are together, and you (or your carpenter) are not scrambling to find what goes where, as there will be an ENORMOUS amount of items.
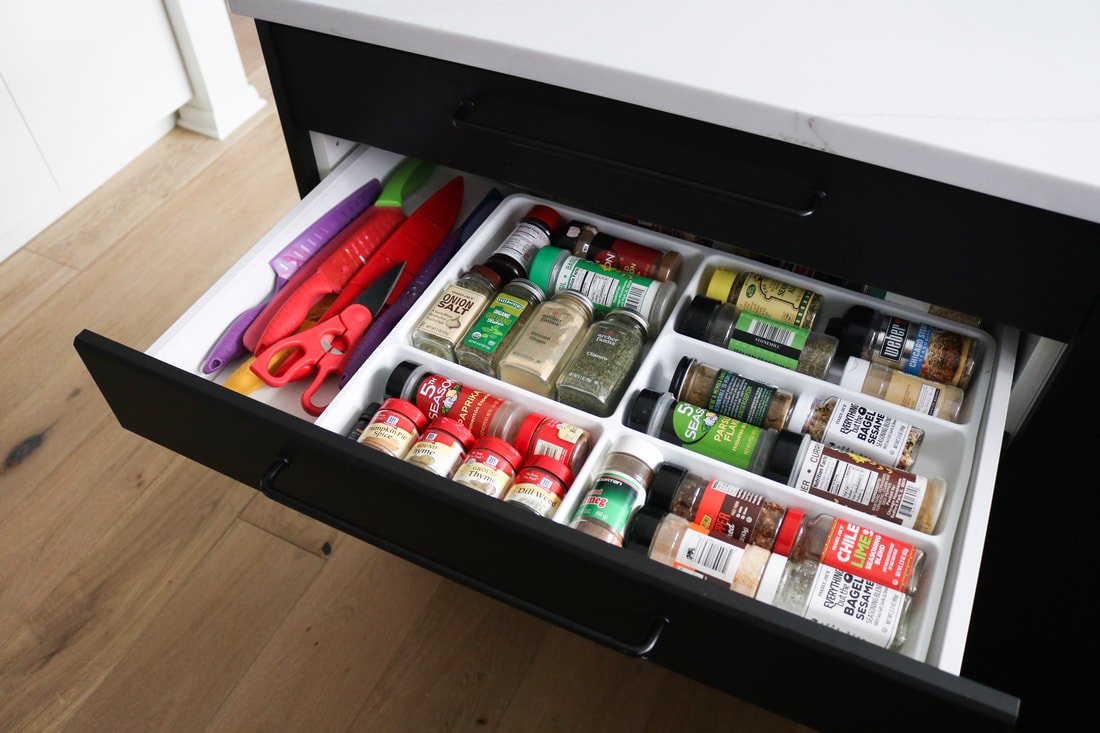
10. Take advantage of IKEAS's interior organization tools
IKEA has all kinds of systems for organizing the interior of their cabinets. They are all made to fit their cabinets perfectly, so take advantage.
There you have it! We would love to see your IKEA kitchens - tag us on instagram!
-HJJ


